
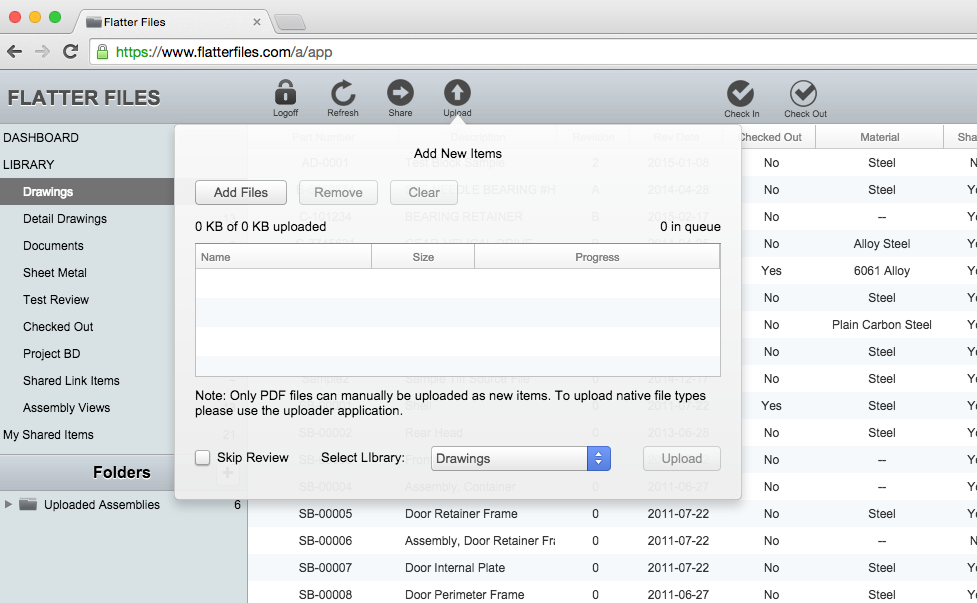
The ability to manually upload files from within the Web Application has been completely updated with all kinds of new features and capabilities. The new upload dialog, which is shown below now supports uploading multiple files at the same time. Simply click the Add Files button to add multiple files or drag and drop files into the table that displays the file queue. Once all of the files have been added simply click Upload to begin the upload process. Just as before, only PDFs can be uploaded when creating new items. Thus, the Uploader is still the primary method used to upload data to Flatter Files since it will automatically generate PDFs for many native drawing and document file types.
With the new file upload dialog, you can now use the Replace Files option to easily upload any file type to an existing item. The easiest way to replace an existing file or add a new file type for an item is to right click the item, navigate to Modify and then click the Replace Files option. The same dialog as shown above will appear but instead of adding new items you can add various file types that will be added as appropriate to the correct file type category for the item.
Consider the scenario where you want to include STEP files for all of your SolidWorks files. You have configured the Uploader to automatically generate the STEP files but a specific STEP file for an item contains information that you want to remove. For this scenario, simply manually create the STEP file you want to distribute for the item, then use the Replace Files option to upload the STEP file. This will replace the auto generated STEP file with your manually created STEP file. When users then access the item in Flatter Files and choose to download the STEP file they will receive the file that you manually created and uploaded.
For more details please see the documentation for Manual Uploads.