
When the Uploader runs, the very first line will indicate that either a “Full Upload” or “Scheduled Upload” is occurring. This documentation explains the two upload types and why the Uploader works this way.
When you click “Start Upload” in the Uploader menu to begin an upload every single file configured for upload is checked for changes relative to what has previously been uploaded to determine what needs to be Uploaded or Updated. This is called a Full Upload and can take a very significant amount of time depending on the number of files being considered. Thus, this process is not scalable because as your vault or file system increases the amount of time to check for changes increases proportionally. When troubleshooting, making configuration changes, or performing the initial uploads a Full Upload should always be initiated. A Full Upload can be initiated by simply clicking “Start Upload.”
When an upload starts due to your specified schedule (hourly, every 15 minutes, every minute, etc.), it is called a Scheduled Upload and only the changes since the previous upload are considered. During a Scheduled Upload the Uploader searches your system for the files that have changed since the previous upload. If there are no changes then no further action is taken. If there has been a change in the local files configured for upload then the Uploader will also check for any changes to items on Flatter Files since the previous upload. All files that have been modified locally or modified on Flatter Files will then be checked for changes. In addition, if no changes occur in the local files configured for upload for approximately 4 hours then the Uploader will check for any changes to items on Flatter Files. If items have been modified on Flatter Files then those items will be checked to see if they need to be uploaded or modified.
A Scheduled Upload dramatically improves the time required for determining what needs to be uploaded and is fully scalable. As in, no matter how many files you have locally or in your PDM vault the scheduled upload will only be checking modified files and thus it can quickly determine what needs to be uploaded.
When troubleshooting or if you simply want the upload to check all files since a specific date due to a setting change you can change the date used for the next Scheduled Upload. By default the date used is the date of the last successful upload. This date is continuously updated as uploads occur but at any point you can modify this date by going to Settings > Advanced Settings > More Advanced Settings and changing the date as desired. The setting (Date For Scheduled Upload) is shown in the image below.
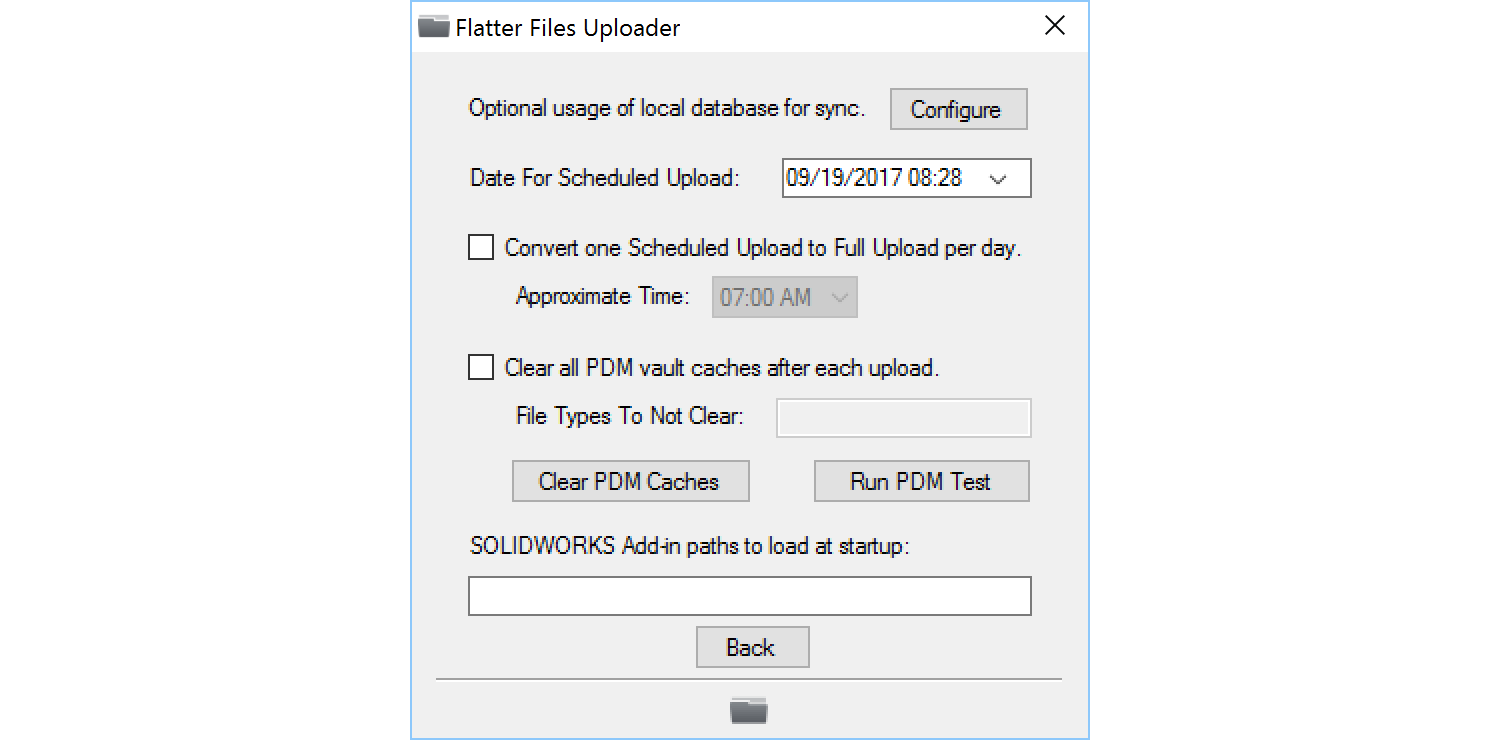
The option to convert one “Scheduled Upload” to a “Full Upload” per day can also be configured in the Advanced Settings shown above. Simply enable the option “Convert one Scheduled Upload to Full Upload per day” and then set the approximate time that you would like this conversion to occur.
For testing purposes, if you would like to start a “Scheduled Upload” without having to wait for the schedule to trigger one you can hold down “Ctrl” while clicking “Start Upload.”