Office 365 Email Tutorial

One of the most popular features of Flatter Files is the ability to automatically notify both internal users and external suppliers when a drawing has been updated with a new revision. This tutorial will show you how to integrate with Office 365 such that emails will be sent using your users Office 365 mail account. Once setup, the emails will originate from the user’s actual Office 365 account. They will even be shown in the Sent Items folder for the particular user account that was used to send each email.

For example, the Office 365 mail account for the user that shares an item externally will be used to send all of the emails that pertain to that particular share. Both the original share creation emails as well as revision update emails will all be sent from that user’s account. The resulting emails will show up in the Sent Items for that particular user in Outlook.

This functionality significantly improves delivery of the emails and improves company branding. If you are an Office 365 customer it is highly recommended that you use Office 365 to send your emails.

Prerequisites:

  1. Administrator access to your Flatter Files account.
  2. Administrator access to your companies Office 365 account.

1. Obtain your Office 365 Tenant ID

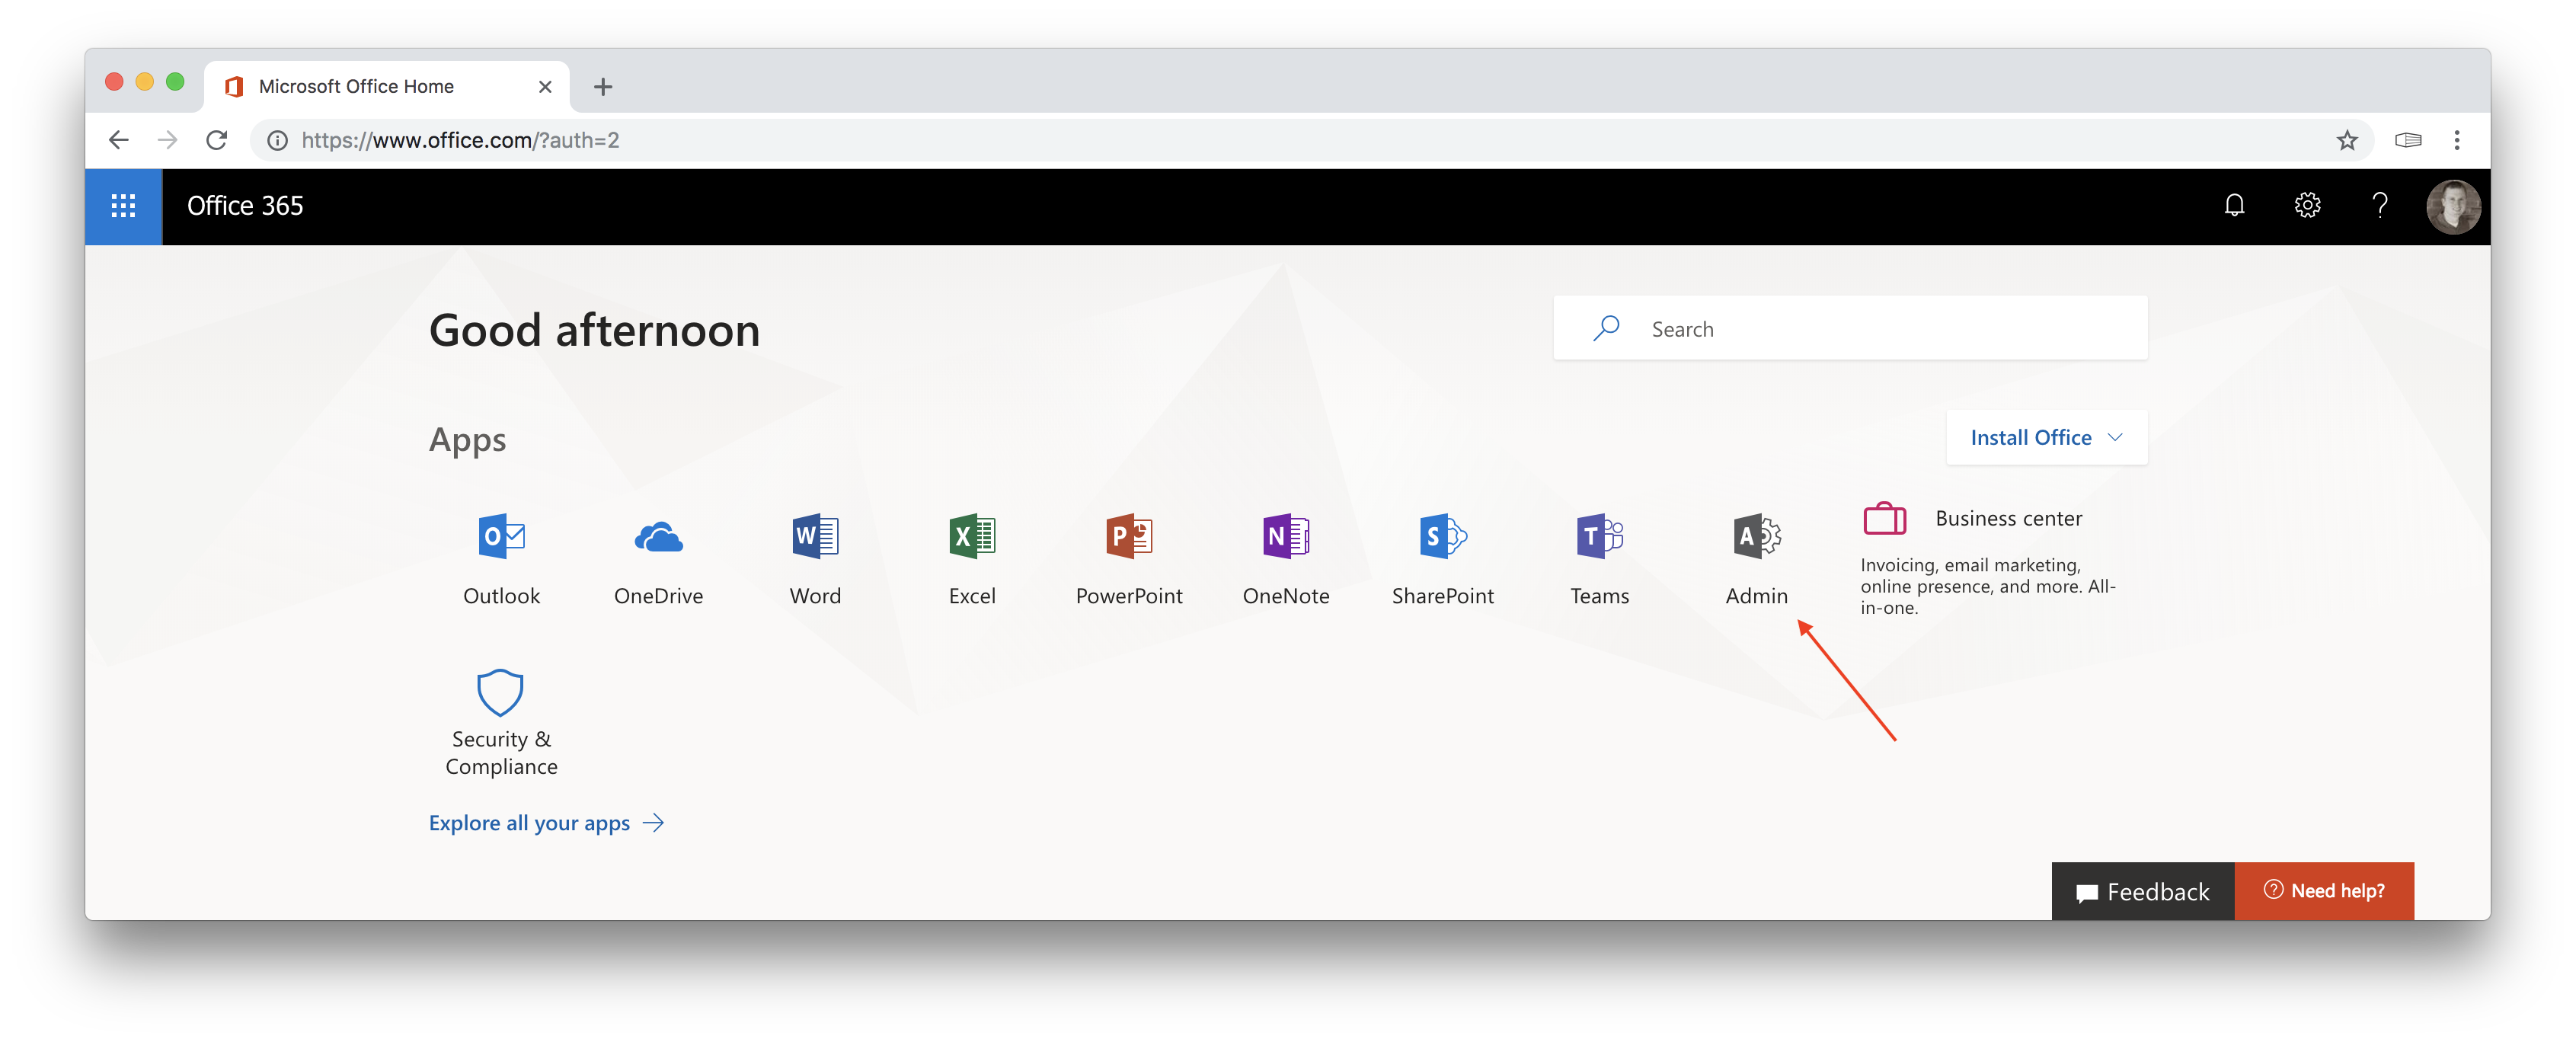
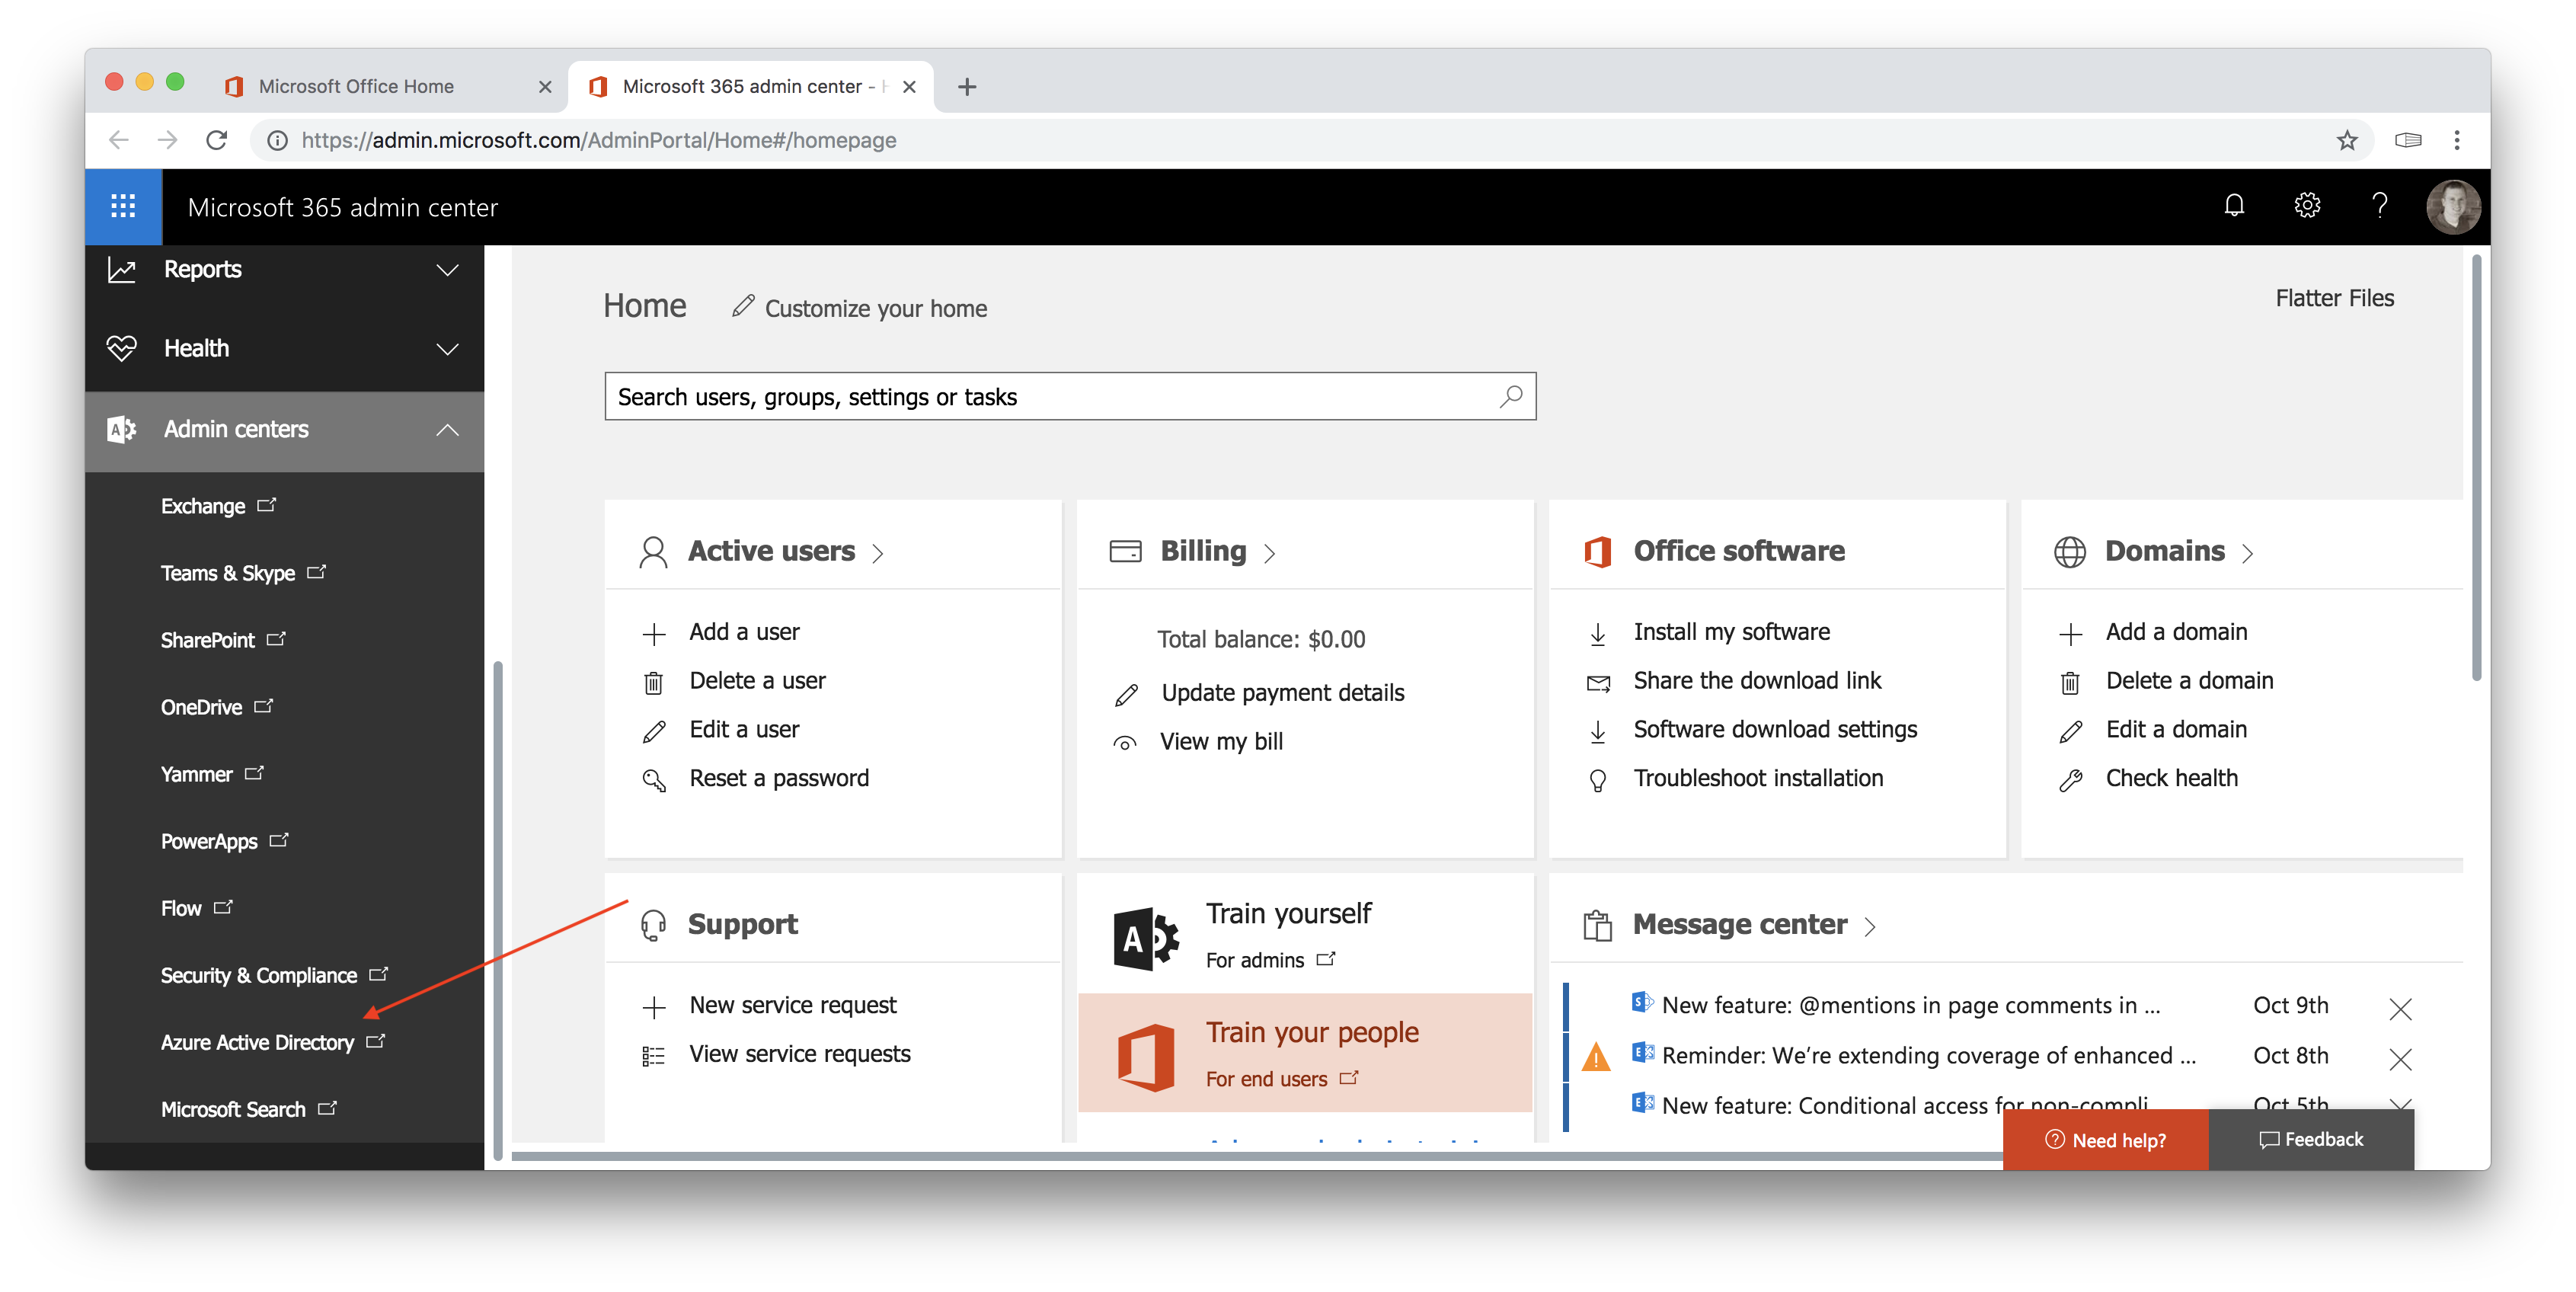
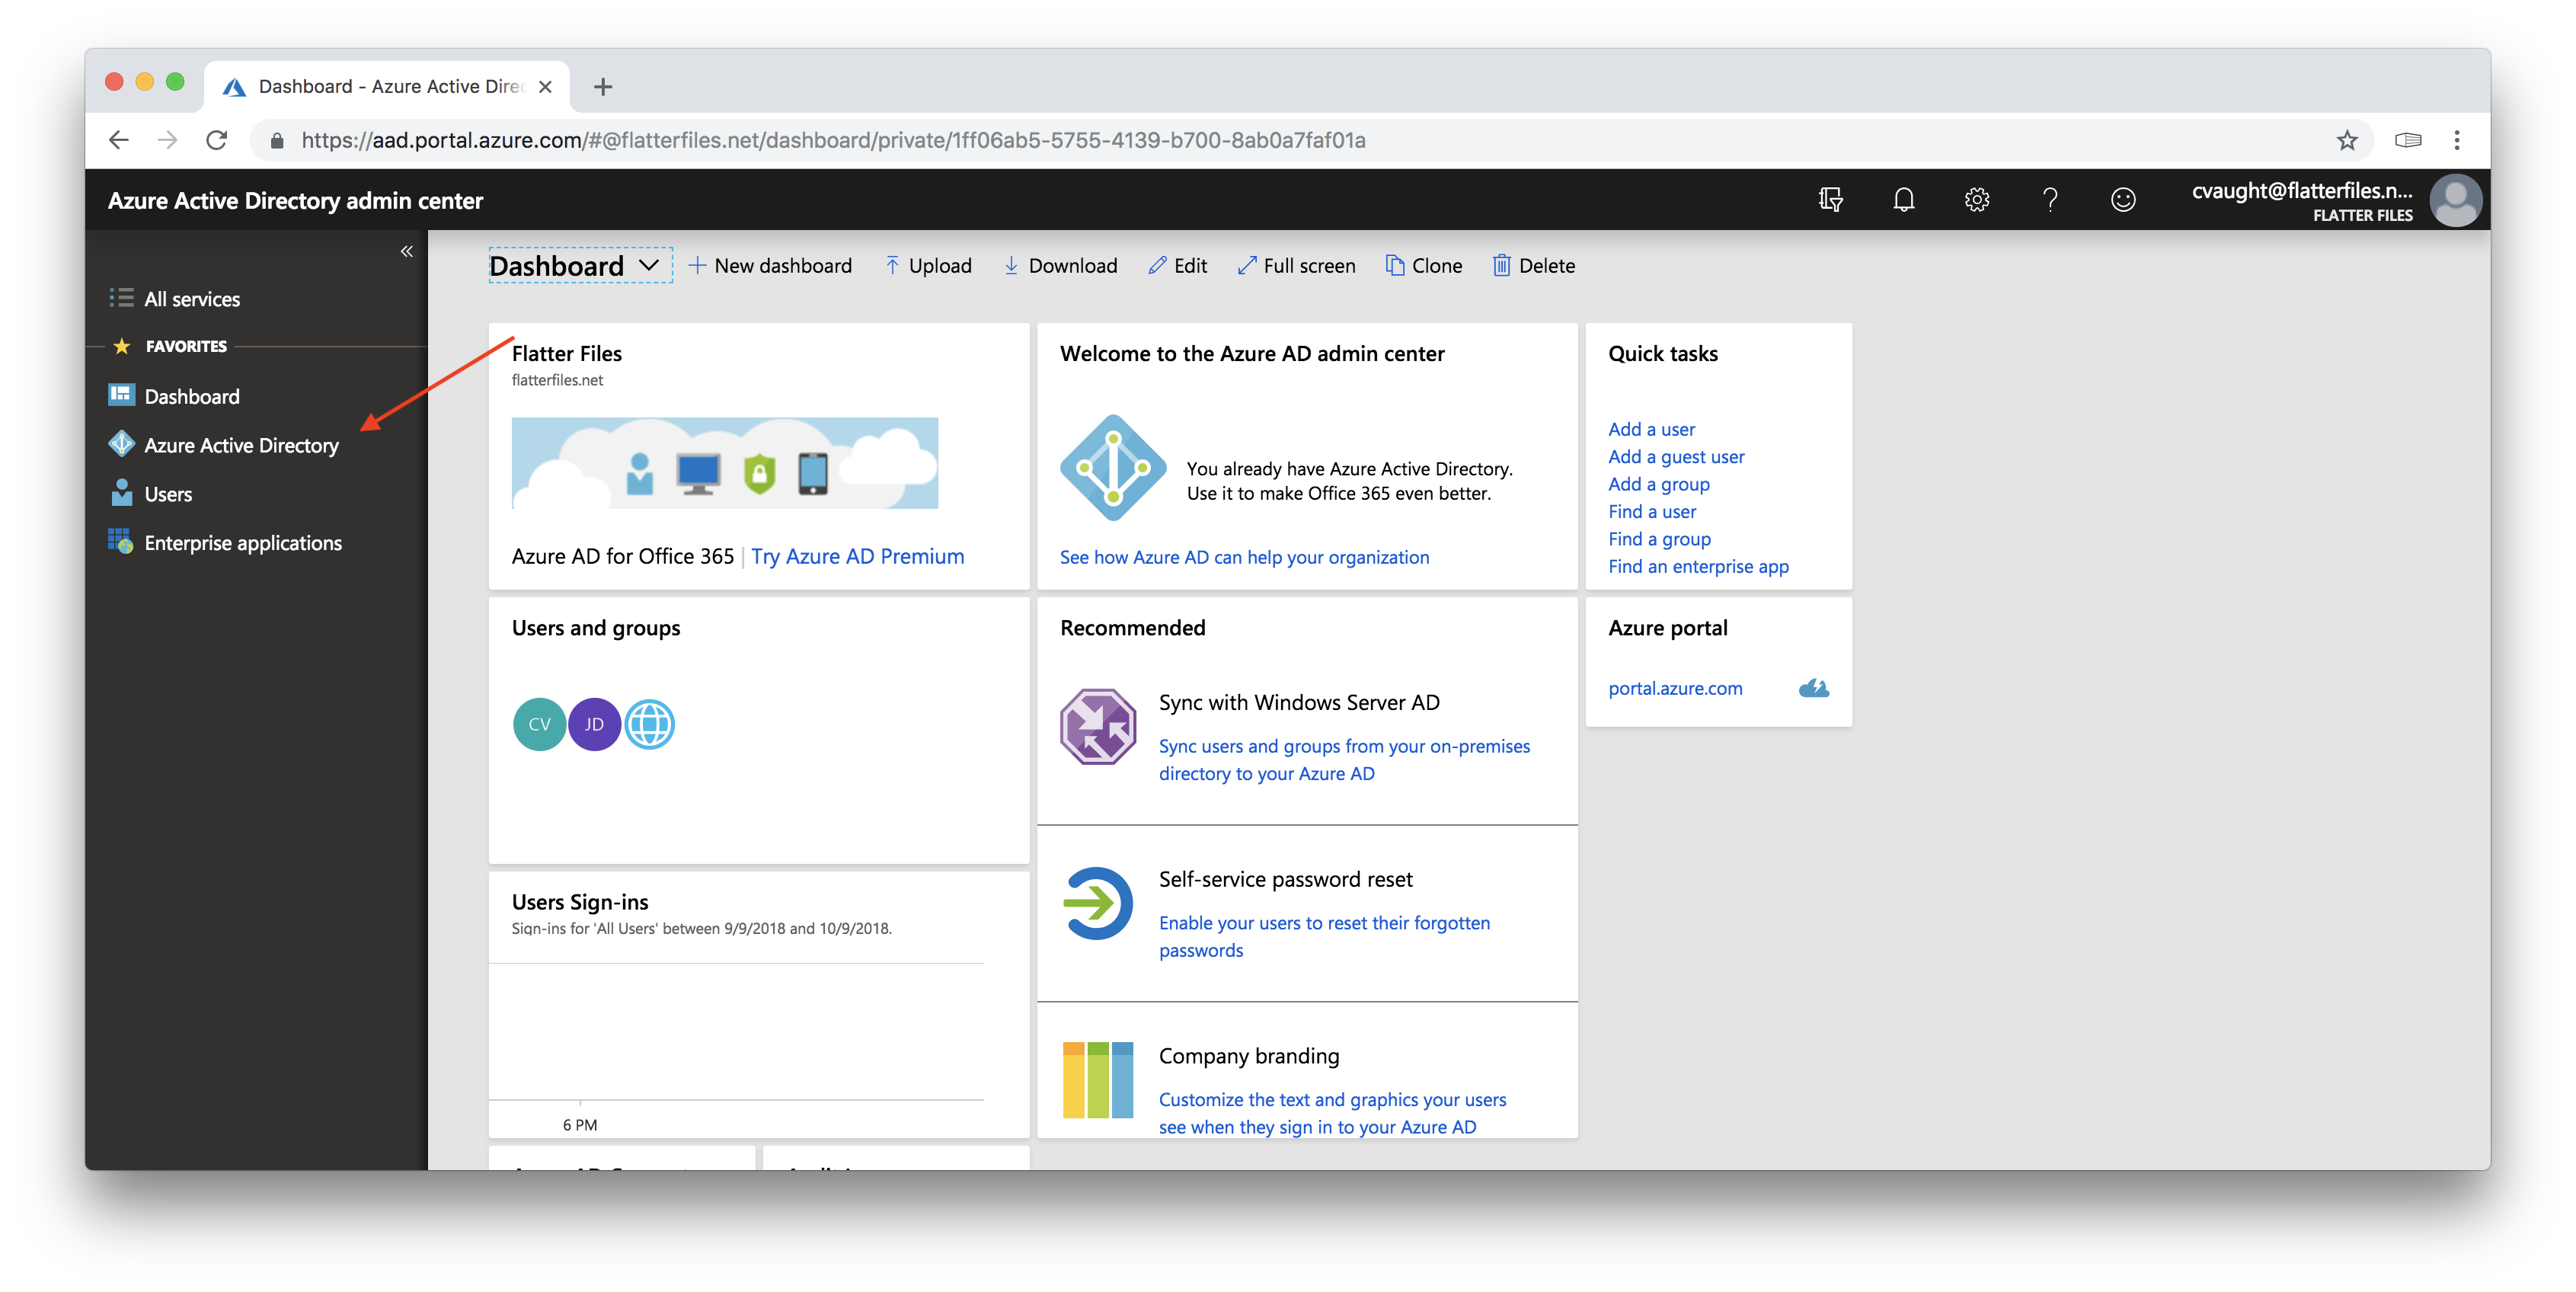
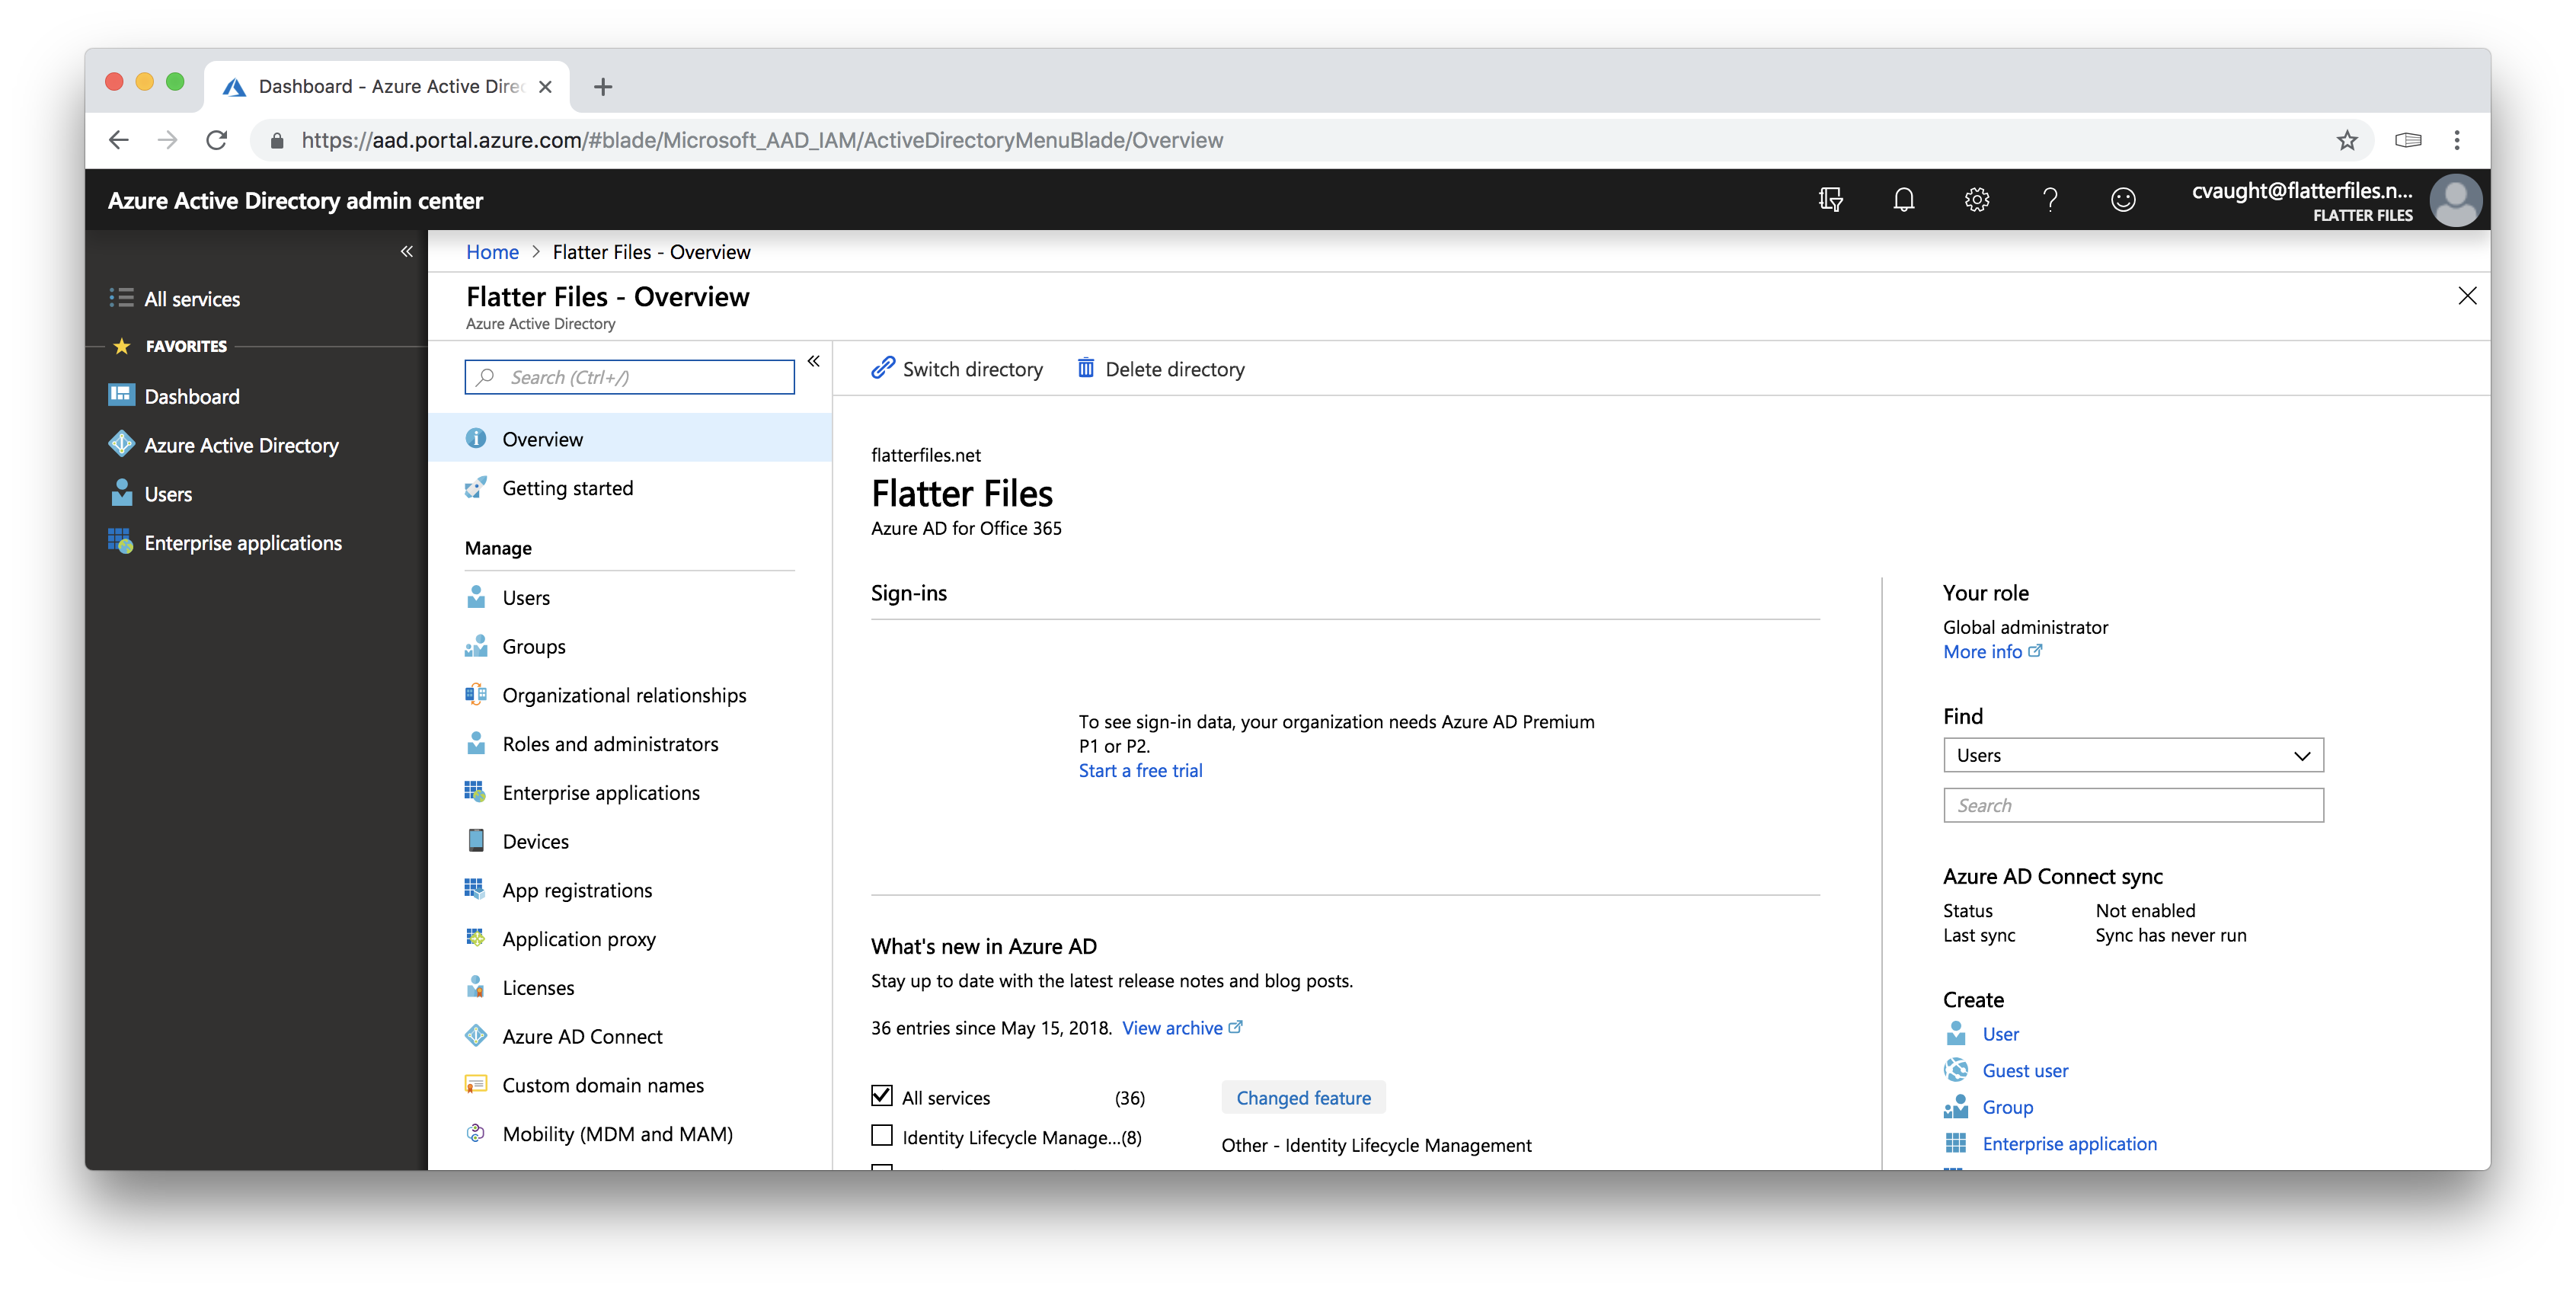
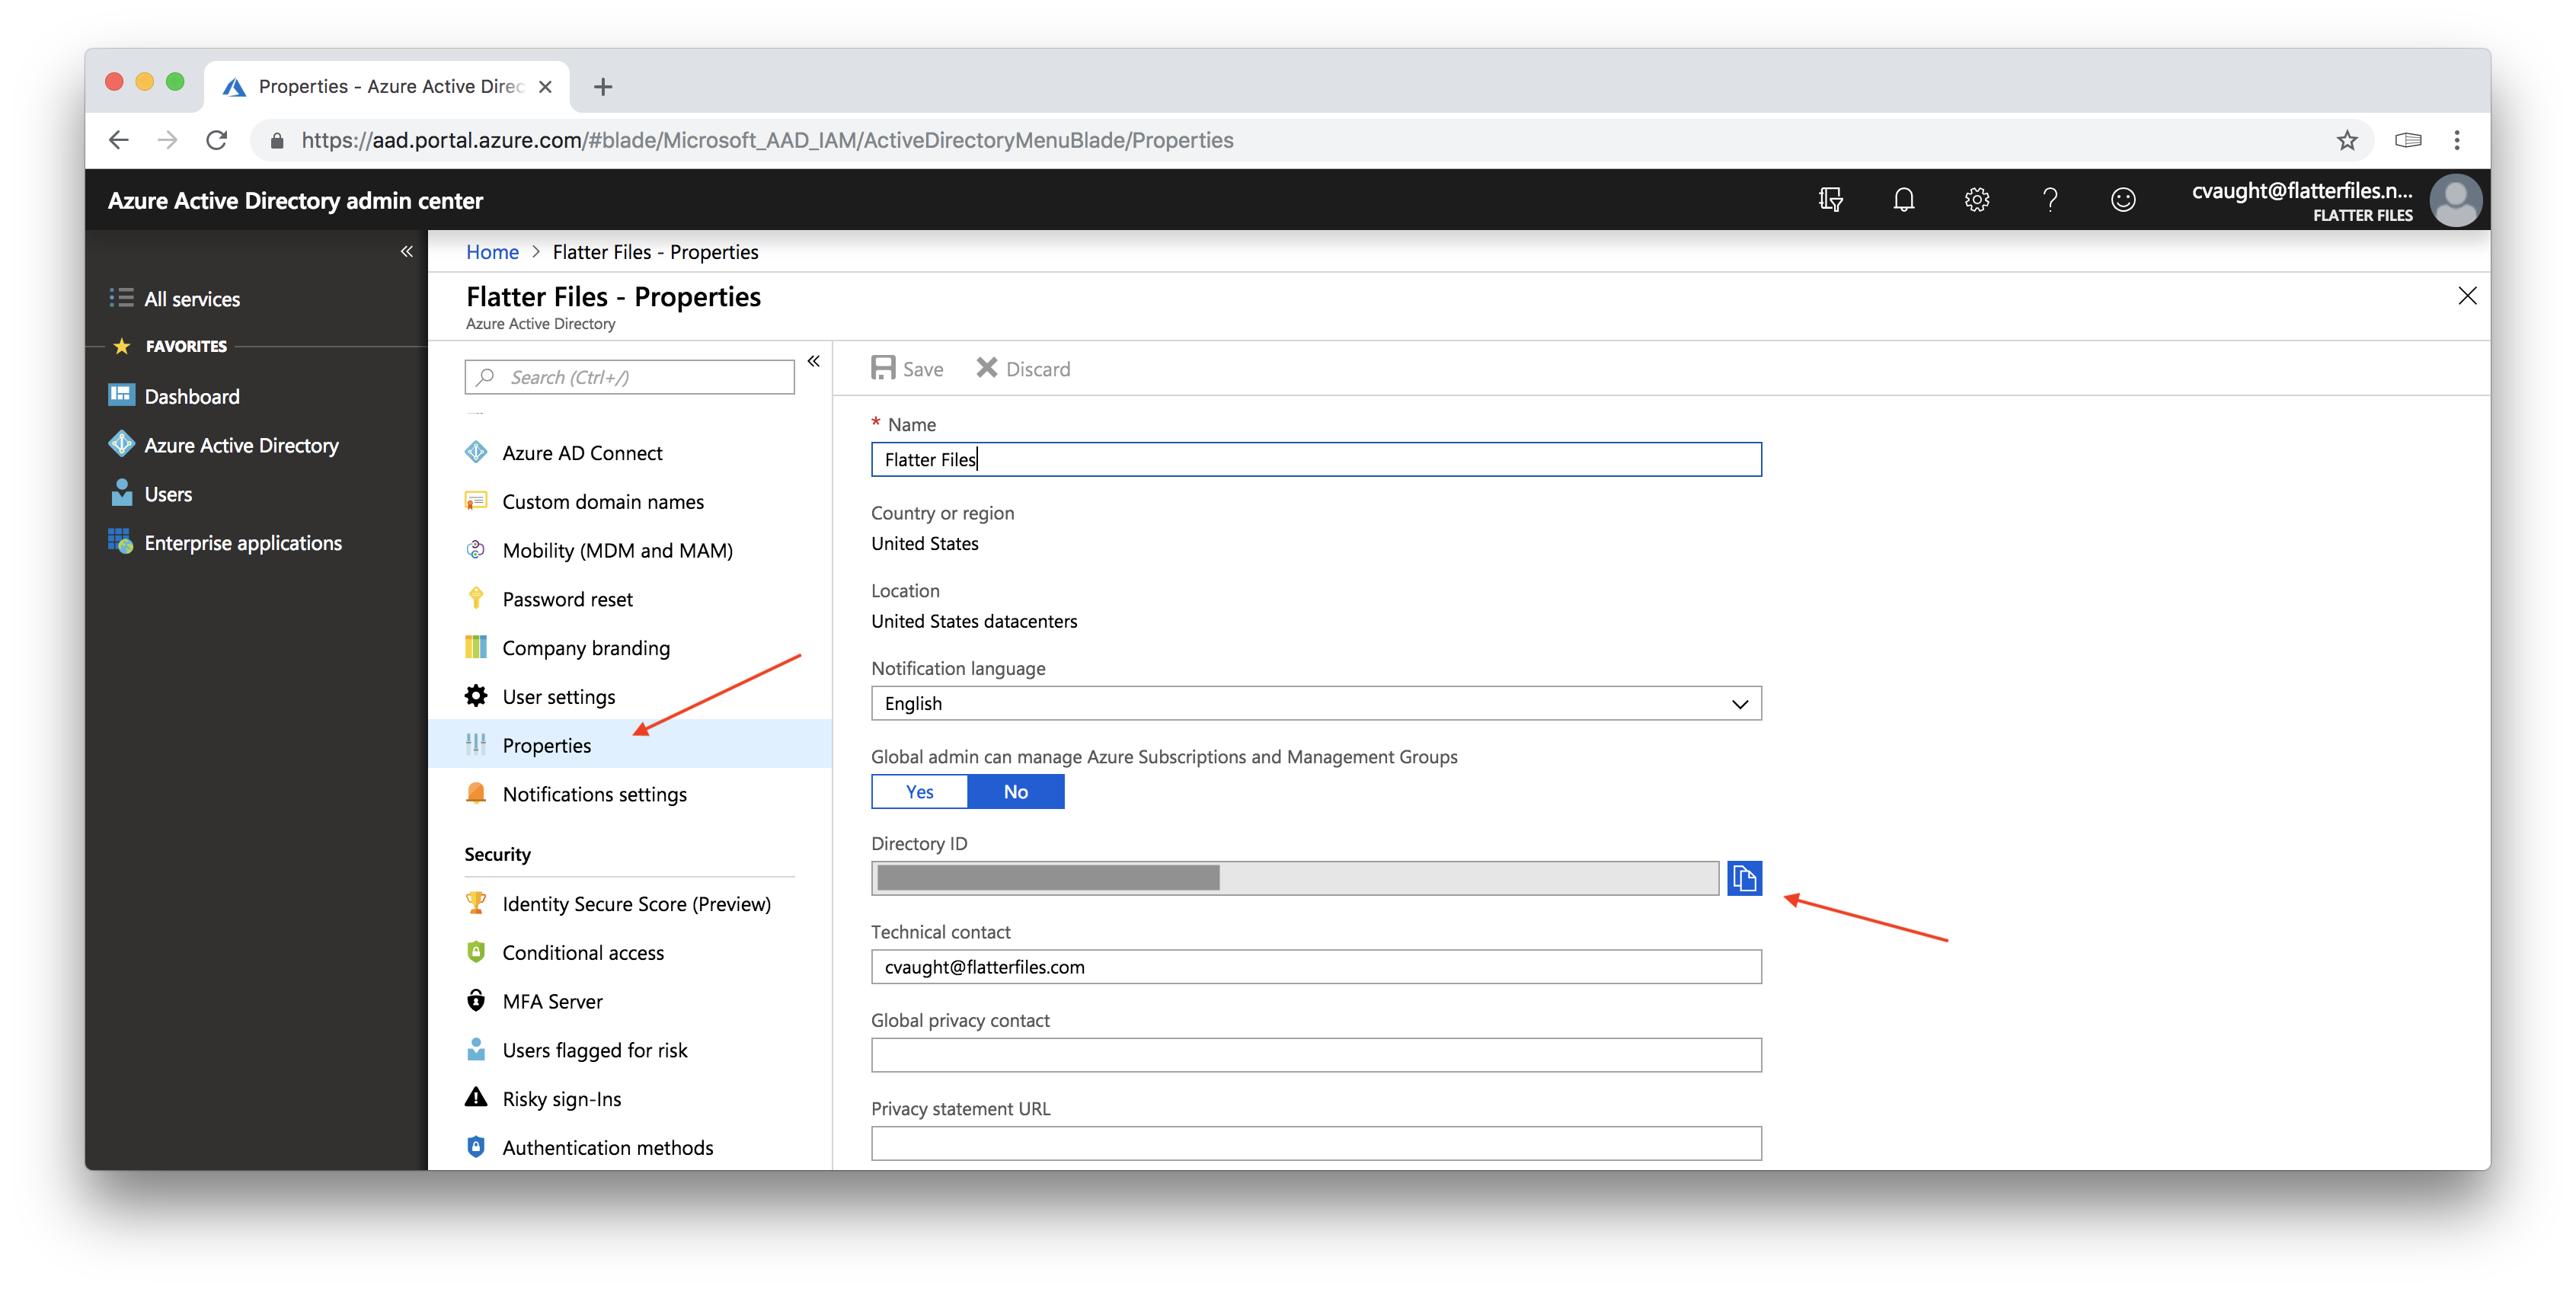
The first step is to sign in to Office 365 as an administrator such that you can enable Office 365 to work with Flatter Files. The steps below show you how to sign in and access the Office Admin Center.

  • Go to office.com and click sign in.
  • Login to access your Office 365 account with an Administrator user account.
  • Once logged in as an Administrator you should see something similar to the image below.
Office 365 Home Page
  • Click the Admin tile which will take you to the Office Admin Center as shown below.
Office 365 Admin Center
  • From the Office Admin Center, expand the Admin Centers option on the left navigation menu.
  • This will list all of the specific Admin Centers for the various Office 365 products.
  • Click to navigate to the Azure AD Admin Center (as shown in the image above).
  • The resulting Azure AD Admin center is shown below.
Azure Home
  • As shown above, click on “Azure Active Directory.”
  • This will display detail information regarding your directory as shown below.
Azure Home
  • Scroll down until you see the option “Properties” which is located under the “Manage” category.
  • Click on “Properties” which is shown in the image below.
Azure Home
  • Click the blue copy button located next to the directory ID.
  • This will copy the tentant ID which will be used in the next step.

2. Enter Tenant ID and Approve

  • Login into Flatter Files using an Administrator user account.
  • Navigate to Dashboard (1) > Settings (2) > Company Settings (3) as shown below.
Azure Home
  • Scroll down to the section titled Email Settings
  • Enable the setting “Use Office 365 to send emails” (4).
  • Paste in the tenant ID that was copied in the previous step (5).
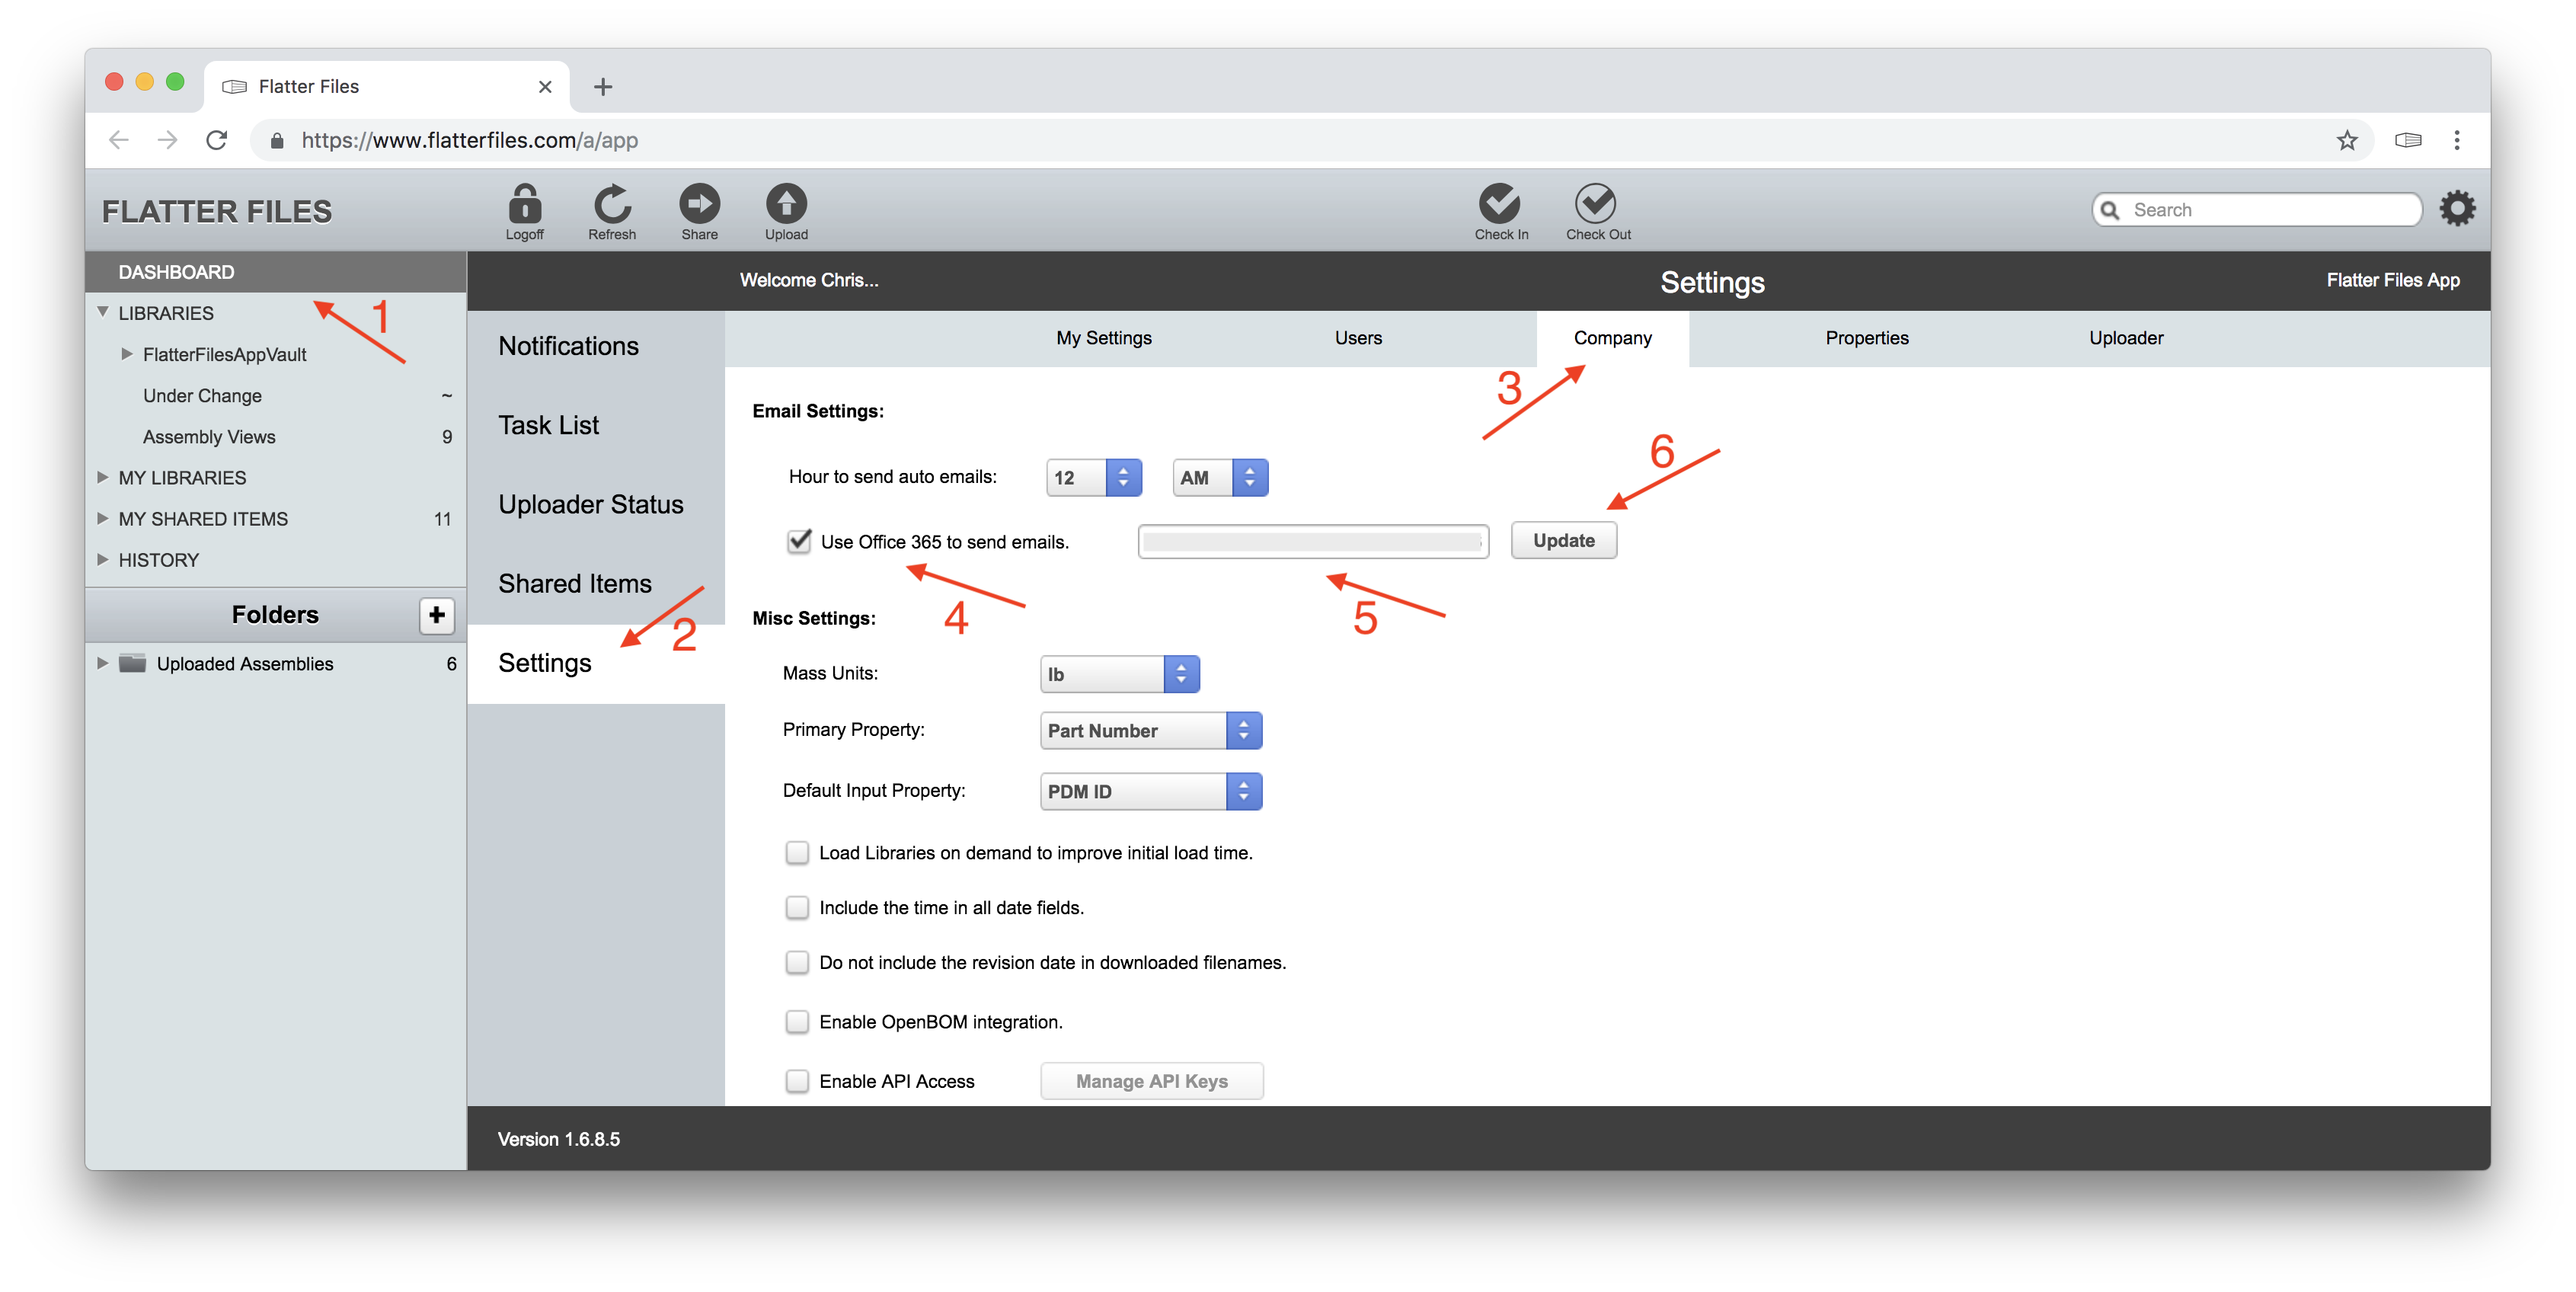
  • Click the Update button (6).

  • This will open a new Tab (make sure your popup blocker doesn’t block it) that will ask you to login with your Office 365 account if you are not already logged in to it.

  • Once logged in you will be asked to grant the required permissions such that Flatter Files can send emails on your users behalf. These permissions must be granted by an Office 365 account admin. If you are not an Office 365 account admin then close the tab and disable the option in Flatter Files until an Office 365 admin can help you by granting the appropriate permissions.

3. Complete

This tutorial is now complete. Your account should now be integrated with your Office 365 account such that emails will be sent using the appropriate user’s Office 365 mail account.

If you have any questions or need additional help please email [email protected].